Post 24: Shell and Leaf Shawl

I finally got my hands on the  book,  Crochet Lace: An Illustrated Guide to Making Crochet Lace Fabrics, which is am amazing book with lace crochet patterns. A book that is out of print and if you want to buy it, be ready to pony up over a 100 dollars. If this book was on the market today, I would pay 40.00 for it because its that good.  It takes a little while to get used to her pattern writing style, because its a lil’ old school, but its quick to catch one.  I decided to start with the Shell and Leaf shawl through a toss up. It was either that or the Old Shale Shawl.

*Sidenote: many of the links I use will come from www. ravelry.com and may not show if you dont have an account. If you are any kind of knitter, crocheter, or needleworker…do yourself the favor and just join. Its a great place for resources, friends, and to see others’ works.*

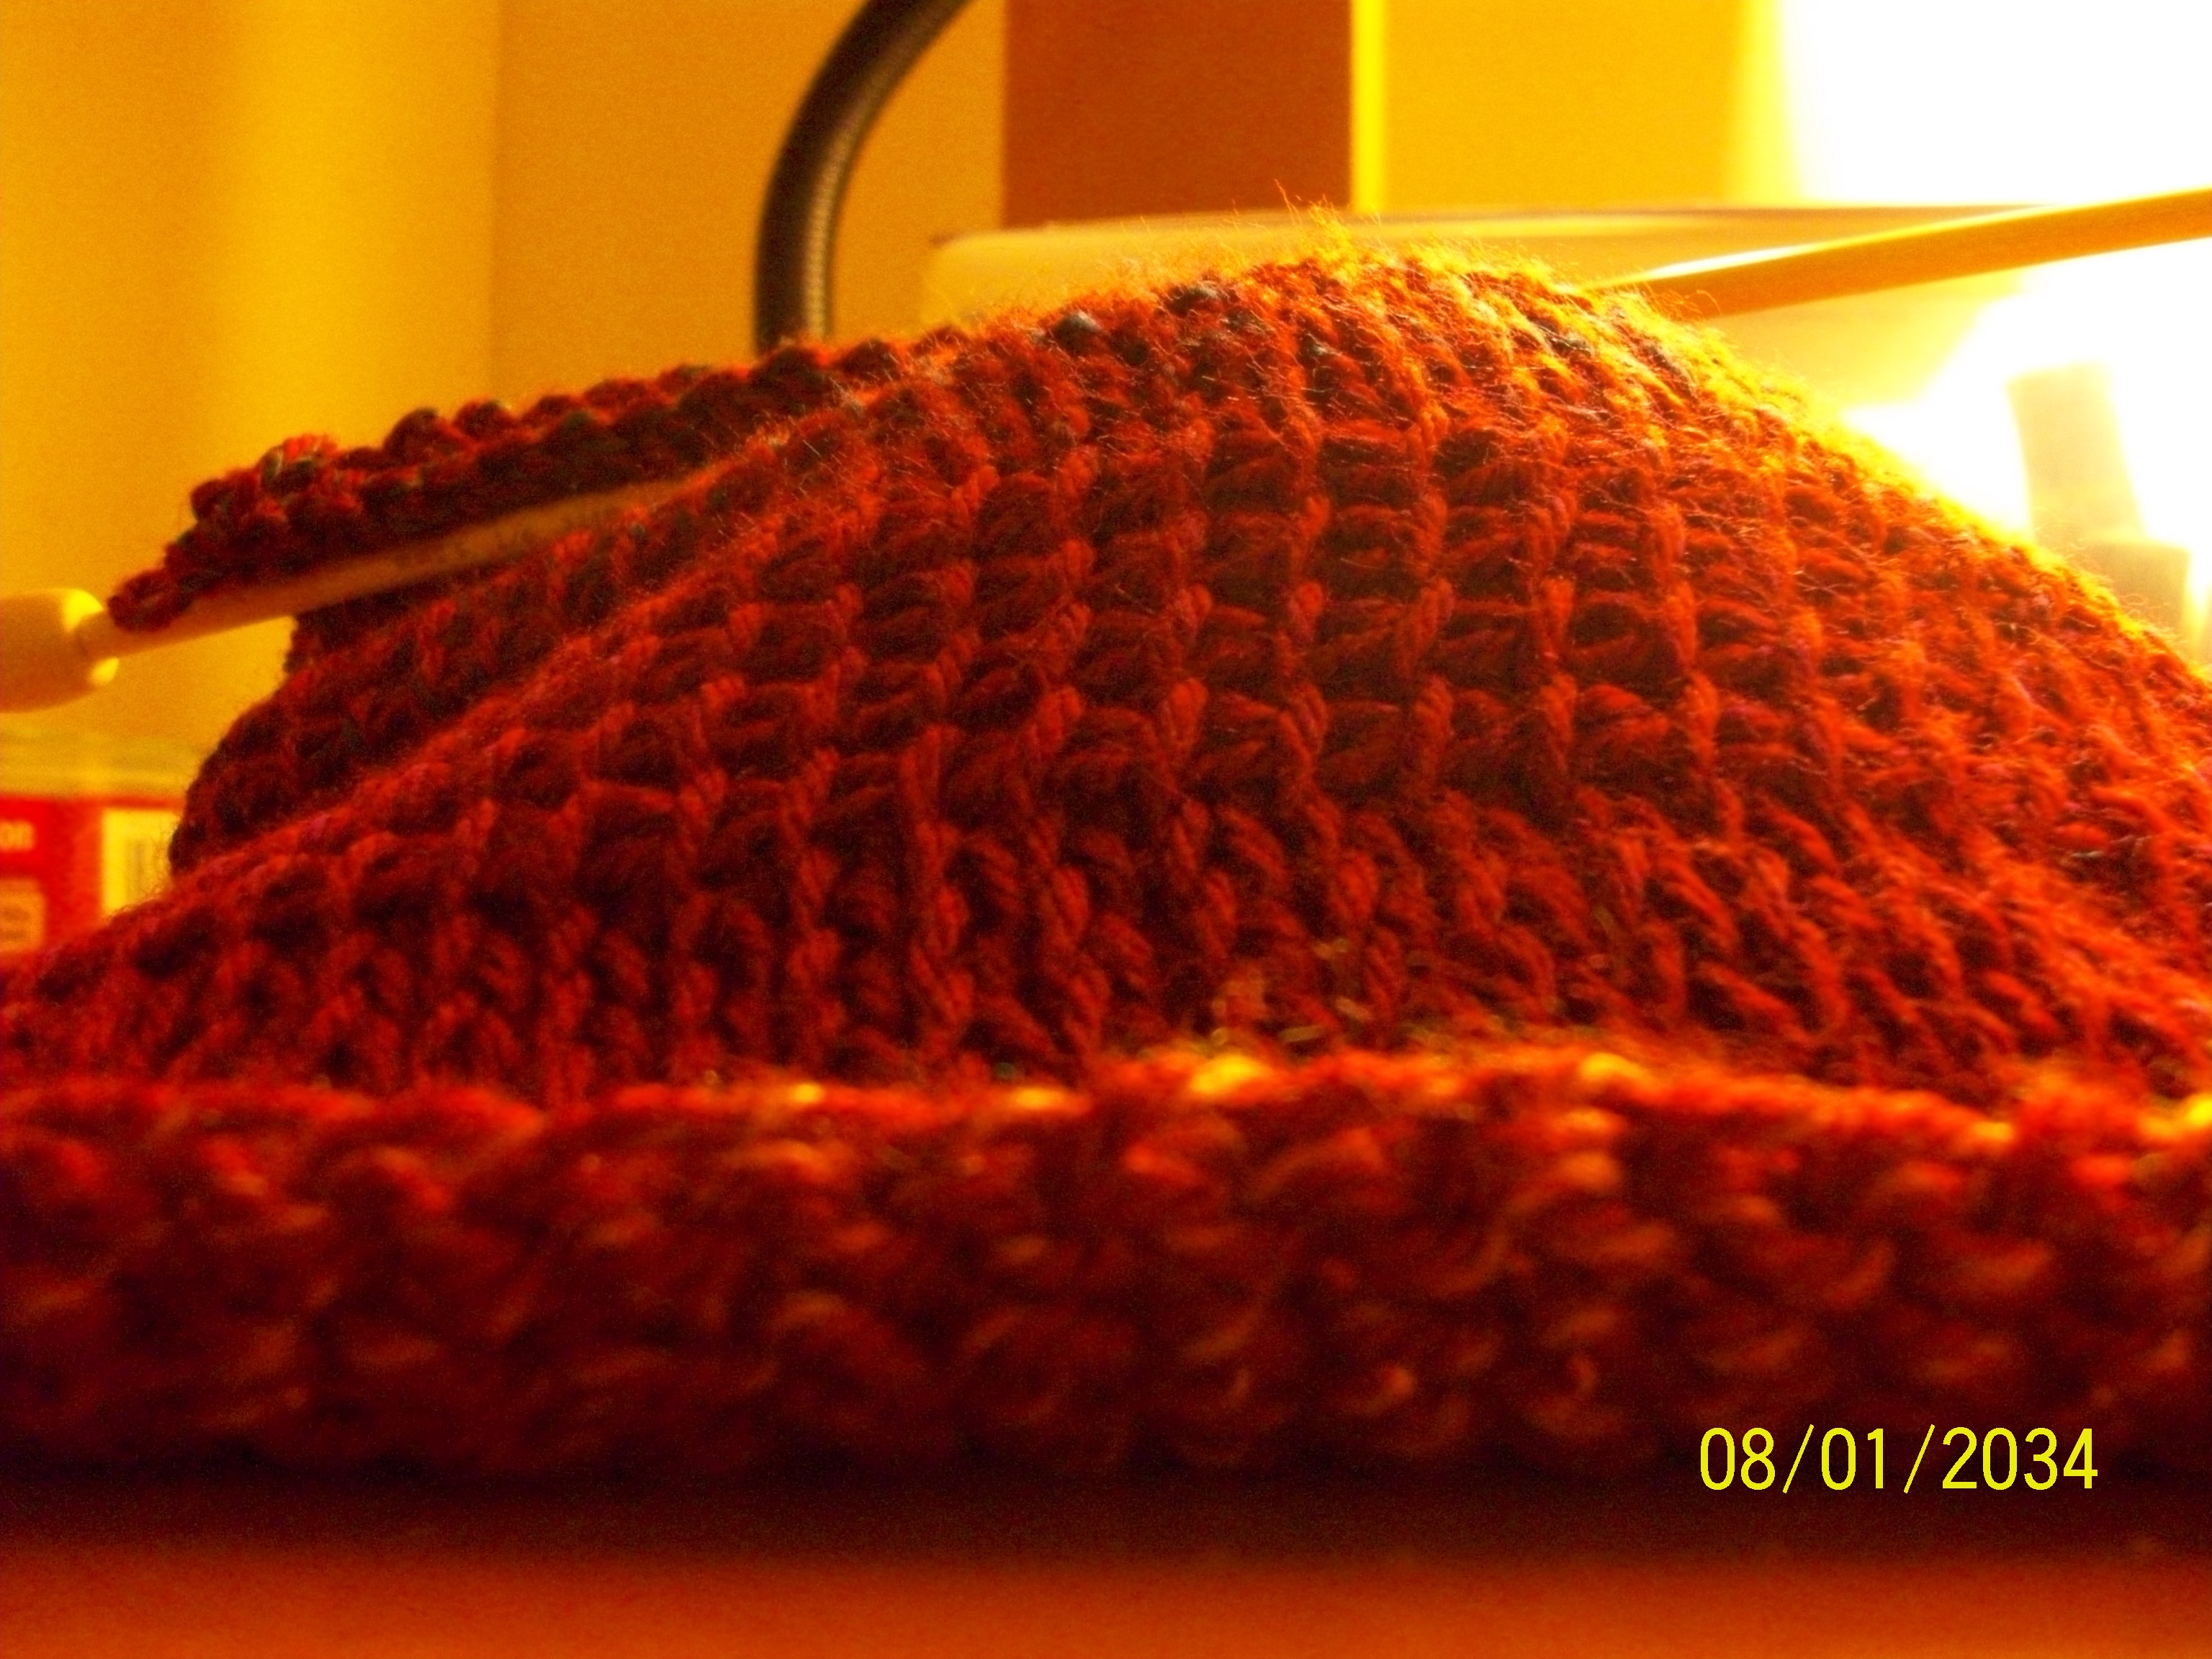
Now, the yarn that I chose to do this pattern in is Jojoland Harmony 1-ply cobweb yarn. Its thin…..oh so thin…..like air.  Im using a 3.75 hook and im actually pushing it with the size, i really should use a 2.75 but i want to go a lil faster. Why did i pick this yarn, you ask??  Well, I was in my LYS and was drawn to the colors, the shimmer, and how pretty the ball looked. In my daze, I  never sought to look at the weight of this yarn….but I did buy two balls of it.  I got it home, days later i decide to do a swatch and am a lil shocked.  I didnt know what i wanted to do with this yarn but I knew  it had to be lacy,  hella pretty,  and feminine. A yarn like this demands it   Sometime, I feel like im crocheting a spiderweb…I have never used yarn this thin before.  Iwill say that has helped me become more nimble and precise with my hook. With yarn like this pulling out the work because of mistakes is really not advised.  Its hitches and then it snaps………but its soft, and airy, and will look lovely once its blocked. I have been a month on this, fitting it in with the other projects that I am working on, and its slow going. The color is a purple to blue and its very very nice.  When I will finish is up in the air, but im saying before the end of jan 2010.

Post 23: Tunisian Scarves.

I wanted to create a ribbed scarf and decided to test out vertical and horizontal ribbing using the tunisian stitch.  To create both i used  two stitches. I alternated the Tss( tunisian simple stitch) and the Tks (tunisian knit stitch).

Vertical banding required switching the stitches every four loops.

Pattern:

The initial chain can be any multiple of 4 + 1

1. Chain 29. Skip the first chain. Pick up 28 loops. Then do the basic return row.

2.  With one loop on hook, Tss in next three stitches.  Four Tks in next four stitches. *Four Tss in next four stitches. Four Tks in next for stitches.  Repeat from * until end of row. Basic return row.

3. Repeat row 2 until desired length.

I did this pattern in Wool Ease Thick and Quick super bulky yarn in Pumpkin.  This yarn may look familiar because i had started another scarf pattern with it earlier but i pulled that out because i wasnt  happy with the way it was looking. Initially,  I had planned on connecting the ends of this scarf to create a circular scarf but i think i like open….eh, we will see.

The horizontal ribbing was created from a similarly simple pattern. Instead of changing stitches within the row, I  changed the stitch of the entire row every four rows.

Pattern:

Chain 37. In this the initial chain number doesnt really matter.

1. Skip the first chain. Pick up loops from all spines of chains. Then do the basic return row

2-4: Tss in each stitch and return.

4-8: With one loop on hook Tks in all stitches. * due to the fact the there is always one remaining loop on the hook, the first stitch in all tunisian crochet patterns will always be a Tss. Its not something that is really noticeable to the untrained eye*

repeat from row 2 until desired length.

Post 22: Tunisian Crochet

So I have to gush……i got in umbc and am super excited…but dealing with school is taking a lot of my time.

The topic of this post is Tunisian/Afghan crochet.  I love tunisian because I always wanted to create a “knit look” without have to learn how to knit.   I think that it is also a pretty fast stitch, so it saves me time especially if I’m using thick yarn.  The stitches of tunisian crochet are pretty basic to learn, the only thing that gives me a little trouble is remembering what all the symbols mean…. and this is coming from someone who prefers crochet  charts to written instructions.

First the tools: There is a specific crochet hook used for tunisian crochet.  Its and elongated crochet hook that has a stopper, of some sort, and a regular hook at the other end.  The hooks come in various sizes and lengths. They are a little hard to find in stores but are easily found in on ebay.  The ones that I have found in stores, in my area,  tend to be small, usually in the 5 to 6 mm range, and are usually a  foot long.  I had to go to ebay to find some that were 22 inches long and ranged in sizes from 5.0mm to 12mm. I needed something larger because I planned on making a circular scarf out of chunky yarn.  There are also circular tunisian hooks that can be used for things like blankets or for hats.

The symbols for the stitches arent as straight forwards as i think other crochet symbols are…but I’m hoping that the more I work with tunisian, sooner or later, they will get imprinted on my mind.  Below are the basic stitches that are used in tunisian. I got them from two different books. The ones that are stacked are just different symbols for the same stitch . There are more stitches, but I am just showing the basics. The TKS( tunisian knit stitch) and TPS (tunisian purl stitch) really mimic the look of knitting. Something to remember with the symbols is that the straight/squiggly line at the top if each symbol actually symbolizes the return row. It’s the symbol under the straight or squiggly line that tells you how u are going to to pick up the loop.

I know something thats always said is” knitting allows for better draping than crochet”. Tunisian usually creates a pretty tight weave so to help with the drape i try to use a larger hook, for the same yarn weight, than i would usually use. If done with the right gauge it makes great, warm, and durable blankets….but on the other hand tunisian lace patterns are also gorgeous.

Below are links to helpful videos:

1. T-chain, loops, and first return row.

2. T-knit stitch.

3. T-purl stitch

I have started two new projects using this technique and will be posting those.

Post 21: Green Cabled Hat

This is the hat that is my basis for the Petal Hat. I just wasn’t finding a pattern for a simple cabled hat that i liked, so i improvised this hat and it turned out pretty well.  I wish i had been thinking ahead and written the pattern down, i just kinda went with the flow when i was making it. The one rule that stayed with me was to make sure that i increased the each round by the number of stitches that i  initially made into the beginning circle.  The yarn i used, and love, was Naturally Caron Country yarn in a forest green and a 5.0mm hook. I made this hat for one of my best friends and i think the color suits her. Next time i will add a button to the center of the hat to see how that fits or if i should just use an adjustable ring a close the center……anyway, here are the pics.

Post 20: More on the Petal Beret

So, i have finished and petals and had started the brim and then i realized that i was making it too small.  So, now im working on the brim again and writing the pattern for it. I really like it, but i had wished that i had made the petals in a different color. hopefully, i will be done soon. i truely under-estimated how long this would take to create and write a pattern for. next time i make this hat, it should go a lot smoother.

Post 19: Petal Beret

Ive been a lil lazy with posts but at the moment, im juggling three projects because I like working on multiple things. Right now im working on a cabled hat that has a petal look to it. ive been very jealous of some knit hats with a petal look to them, so im trying to convert that to crochet.  hopefully i will be done tomorrow.  Im using cascade yarns 220 superwash quatro in color 1935.

update: so im stuck, ive created my petals completely but writing the pattern on how to decrease the brim of the hat is driving me bonkers…….AND i kinda wish i had the foresight to make the cabled petals in a different color so that they stand out more…..BUT all this is to say ( to the 4 or so ppl who read this blog)…that the pattern and pics will be up this in a day or two……….thx

Post 18: Chunky Cowl

So while i was browsing ravelry i saw this “new york cowl” scarf and absolutely loved it.  I had Lionbrand chunky wool yarn in pumpkin color and am in the process of making it. The creator of the original made it but alternating rows of sc and hdc but im doing it a little different. I am doing a row of sc and the a row of dc, chain 1, dc and alternating that pattern for at the first few rows and then i will switch to her pattern. However, im thinking that instead of just creating a long tube, that i should decrease the stitches and create more of a “cape look”. Not sure how i will look but it a thought.

P.S. please excuse the cheesy look on my face.

Post 16: Crochet Purse

The new chef at work had a gf who loves crochet/knitted purses so he asked me to make her one. I found this pattern on ravelry for the ” Inga’s Haekelbeutel“, a design by Inga Joana Mertens, and loved it. I have seen other bags made in a similar fashion but i just loved her color scheme. There is a link to dnl the instructions. English isnt her first language so it was hard for me to get the motif pattern and then i realized that any granny motif would do. The pattern calls for 16 squares, but i saw a lot of ppl saying that the sixteen squares was really too large so i made only 12.  I chose really bright colors, we are still in the hottest month of the year in DC. There were from the Caron Simply Soft Brites Collection ( pink, yellow, and blue) and i just created 4 color patterns that i repeated. After finishing the squares i realized, how bright it was, so i chose a heather grey to do the border and the handles to mute the colors some, and i love love love the outcome.

The patterns calls to join the motifs in groups of 4 ( 3 in my case). I did that but i also did a border of 2 rows of sc in the grey, which created  diagonals of  thick silver stripes that werent planned but i liked. Be careful to make sure that when u are joining the motifs, that the RS are facing inward and that u are looking at the WS.  I hate to block my work but it was needed in this case, just for the fact that it makes joining the motifs so much easier. For the handles, i did 3 rows of sc while carrying grey, blue, and yellow. I attached the handles with the grey yarn. Then i went around the whole thing in sc.

I decided that since i was making this for someone who isnt a blood relative, i should line the bag. I found this lil site that gives a simple, cause i need simple, tutorial on lining bags. My sewing machine keeps catching and destroying needles, so for the meantime i had to hand sew in the lining. I think that fact that it not perfect kinds works in this case. Overall, it took two weeks, but i love this bag.

Post 15: Emerald Scarf

The project that im working on right now is the Emerald Scarf, by Tracy St. John, that is in the Interweave Crochet Spring 2009 issue.  I didnt follow the pattern exactly due to the way i like to crochet. The patterns calls for you to chain 39 and work about 170 rows of the pattern to get the length that u desire. I prefer to chain to my desired length and work less rows. This usually doesnt matter in things like scarves but in this pattern you dont fasten off and then add on the edging. This pattern is continous, so i had to remember that my short sides ( in the initial row for the edging) is the long side in the pattern.

**UPDATE**I would have finished this a long time ago but i ran out of yarn and i need to go buy another skein, i have about 3 rows of the border left.